How to Grow Okra in Containers is easier than you might think! I’ve always found okra to be one of the most rewarding vegetables to grow. It thrives in the heat and produces pods quickly.
If you don’t have much space, don’t worry. Containers work just as well. You only need a sunny spot, good-quality soil, and a large enough pot to get started.
I’ve learned that choosing the right container size is key. It keeps the roots healthy and supports strong growth. Let’s dive into the steps to ensure your okra grows tall and produces abundantly.
How To Grow Okra In Containers?
Start by choosing a large pot, at least 12 inches deep. Fill it with well-draining soil mixed with compost. Plant the seeds about half an inch deep. Place the container in a spot with full sunlight.
Water regularly, but avoid overwatering. Okra thrives in warm temperatures, so keep the soil consistently warm. I like to feed my plants with a balanced fertilizer every few weeks.
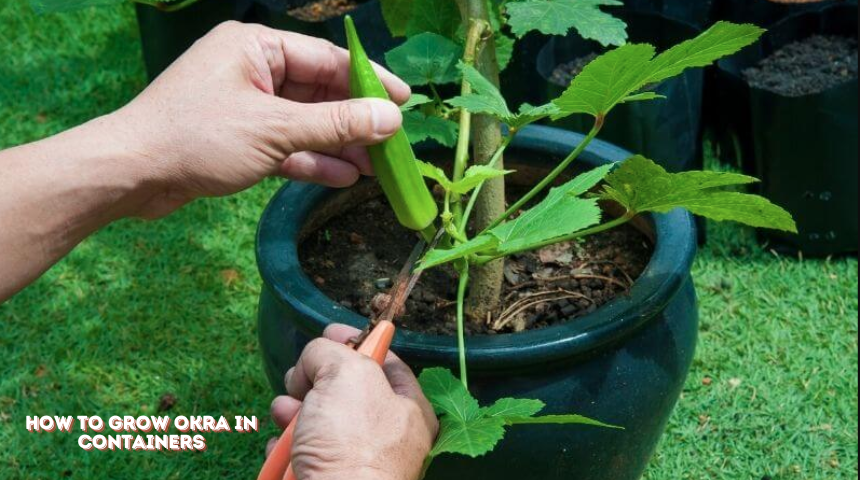
Once the plant reaches 3-4 inches tall, thin out weaker seedlings. Harvest pods when they’re about 3 inches long to encourage more growth.
Selecting The Right Container
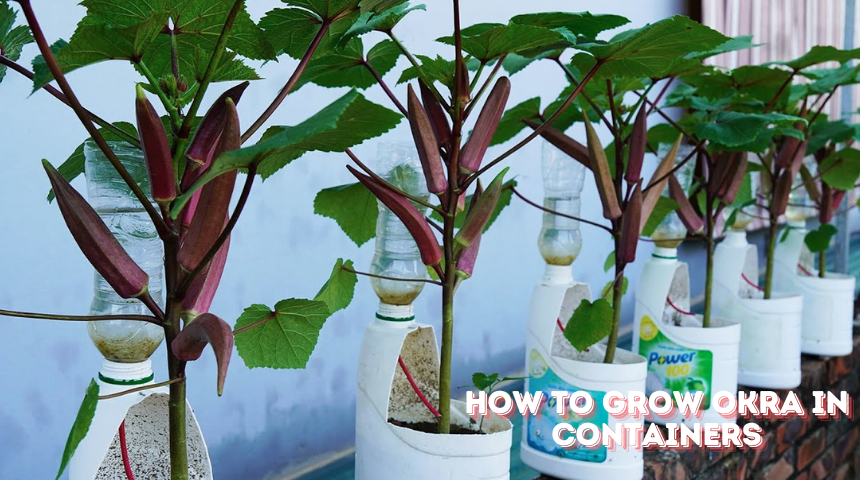
Selecting the right container for growing okra is essential for success. I recommend using a pot that is at least 12 inches deep and wide. This allows the roots to spread and grow properly.
Make sure the container has drainage holes to prevent water from pooling, which can cause root rot. I prefer using terracotta pots because they help regulate moisture, but plastic works well too.
The key is to ensure the container is large enough for the plant to thrive. A sturdy pot will also keep the plant stable as it grows taller.
Sowing Okra Seeds
When sowing okra seeds, I always start by soaking them overnight to speed up germination. This helps soften the tough seed coat. I plant the seeds about half an inch deep in the container, spacing them a few inches apart.
If you’re using multiple seeds, don’t overcrowd. After sowing, I lightly water the soil to keep it moist but not soggy. Place the container in a sunny spot, as okra loves warmth.
The seeds usually sprout within a week. Keep an eye on the moisture level, as consistent warmth and water are key for successful germination.
Conditions For Growing Okra In Containers
Understanding the conditions for growing okra in containers is key to a healthy and productive plant. I’ve learned that okra thrives when given the right environment. From sunlight to soil type, every detail matters.
Whether you’re growing on a small balcony or in a backyard, making sure your okra has the right conditions will help it flourish.
I’ve found that it’s all about balance—enough light, warmth, and water, without overdoing any one factor. Let me walk you through the key requirements to ensure your okra grows strong and produces plenty of pods.
Location
When growing okra in containers, location is crucial. I always make sure to place my container in a spot that gets at least 6-8 hours of direct sunlight daily.
Okra loves heat and full sunlight, so the sunnier the spot, the better the growth and pod production. If you live in a cooler climate, you may need to move the container around during the day to maximize sunlight exposure.
I’ve also noticed that positioning the plant against a wall or a fence can help it absorb additional warmth, especially if the structure gets heated by the sun.
Soil
Choosing the right soil is essential for growing okra successfully. I prefer using a well-draining, loamy soil rich in organic matter. You can mix garden soil with compost or organic fertilizers to ensure that your plant gets enough nutrients.
It’s important to avoid heavy clay soils that retain too much moisture, as this can lead to root rot. The soil should be loose enough for water to drain freely, but still able to hold onto moisture for the roots to absorb.
To boost growth, I sometimes add perlite or coarse sand to improve the soil structure in my container.
Climate
Okra is a tropical plant, which means it thrives in warm climates. The ideal growing temperature for okra is between 75-95°F. I’ve found that keeping the soil warm is just as important as maintaining warm air temperatures.
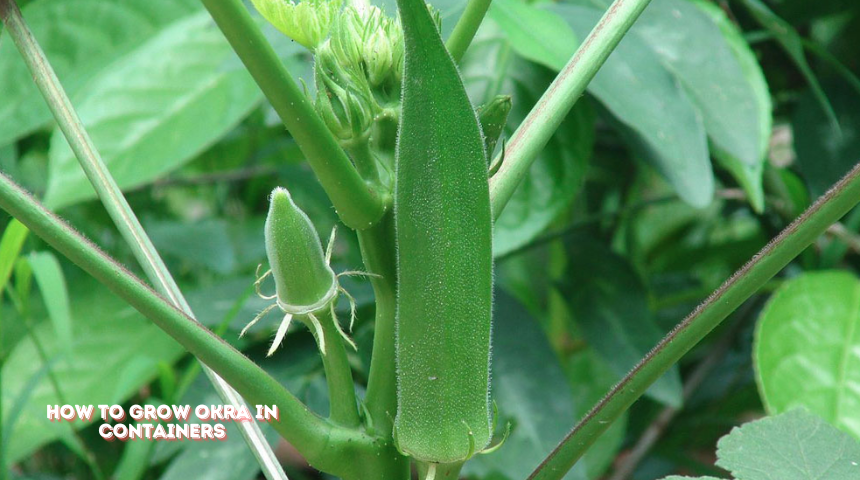
If the temperature drops below 65°F, the plant’s growth slows significantly. For those in cooler climates, using dark-colored containers can help keep the soil warmer, or you can move the plants indoors on chilly nights.
Additionally, I avoid planting okra too early in the season if there’s still a risk of frost, as okra is highly sensitive to cold.
Maintenance of Okra Plants
Maintaining okra plants in containers involves regular care and attention. I water my plants consistently, ensuring the soil stays moist but never waterlogged.
In hot weather, it’s often necessary to water daily, especially since containers dry out faster than ground soil. I also prune any yellowing or dead leaves to keep the plant healthy.
Another part of maintenance is supporting the plant as it grows taller. I use small stakes to help keep the plant upright, especially when it becomes heavy with pods. Keeping a regular watch for pests and diseases is also part of my routine.
Fertilization
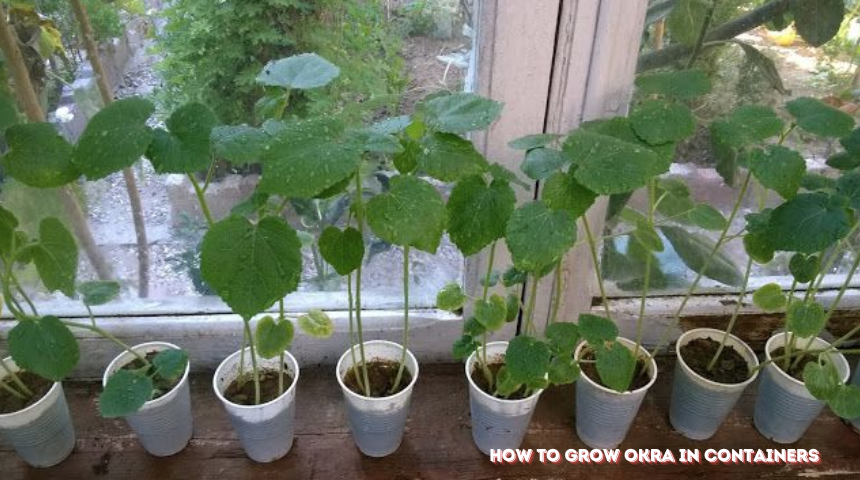
Feeding okra regularly helps it thrive in a container. I like to use a balanced fertilizer every 2-3 weeks. Early in the growing season, I opt for a nitrogen-rich fertilizer to promote leafy growth.
As the plant starts to flower and produce pods, I switch to a fertilizer with balanced amounts of nitrogen, phosphorus, and potassium to support overall health.
It’s important not to over-fertilize, as too much nitrogen can lead to excessive foliage growth at the expense of pod production. I always follow the fertilizer’s instructions to avoid this.
Flower Pollination
Okra plants are self-pollinating, meaning they don’t rely entirely on insects to produce pods. However, I’ve noticed that bees and other pollinators visiting my garden can help increase the yield.
If you’re growing okra indoors or in an area with fewer pollinators, hand-pollination is a simple way to assist. I use a soft brush to gently transfer pollen from one flower to another.
Doing this in the morning, when flowers are most receptive, can improve your chances of successful pollination and a better crop.
Plant Topping Techniques
Topping okra plants can help promote branching and increase pod production. I usually top my plants when they’re about 18 inches tall by cutting off the main growing tip.
This encourages the plant to produce lateral branches, which means more flowers and, ultimately, more pods.
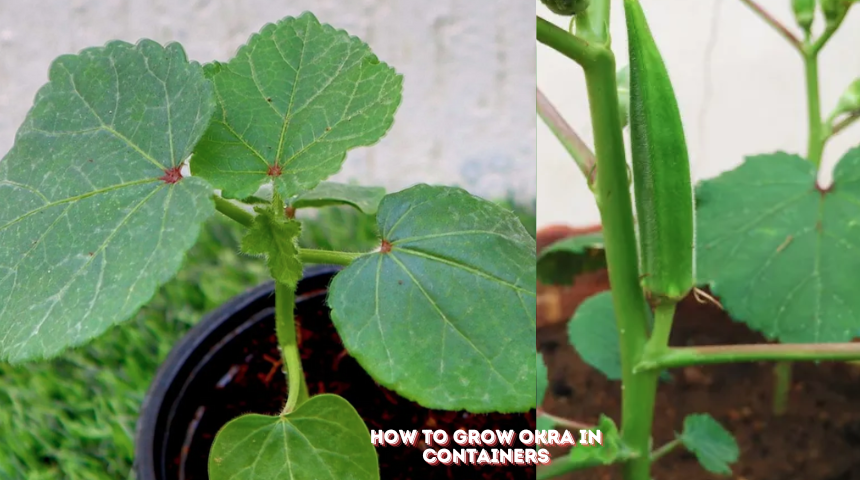
I’ve found that topping also keeps the plant more compact and manageable, which is especially helpful when growing in containers. Without topping, okra can grow tall and leggy, with fewer pods on fewer branches.
Pest And Disease Management
Okra can be affected by a variety of pests and diseases, but with regular monitoring, it’s easy to manage. Common pests include aphids, stink bugs, and flea beetles.
I inspect my plants regularly and use organic pest control methods, like neem oil, insecticidal soap, or even just a strong spray of water to remove pests. Fungal diseases like powdery mildew or root rot can also affect okra if the soil doesn’t drain well.
Ensuring proper air circulation and not overcrowding the plants helps prevent these problems. I also remove any affected leaves to stop the spread of disease.
Crop Gathering
Harvesting okra is one of my favorite parts of growing this plant. I check my plants daily once they start producing pods, as they grow quickly.
I harvest pods when they’re about 2-3 inches long, while they’re still tender. If you let them grow too long, they become tough and fibrous.
I use pruning shears or a sharp knife to carefully cut the pods from the plant, which helps avoid damaging the stem. Frequent harvesting encourages the plant to keep producing more pods, so the more you pick, the more you get!
Determining If Okra Is Ready To Pick
I can tell okra is ready to pick when the pods are firm and about 3 inches long. To check, I gently press the pod between my fingers. If it’s firm but still gives slightly, it’s perfect.
If the pod feels hard or woody, it’s likely past its prime and won’t be as tender. It’s important to harvest okra regularly to encourage more pods to develop.
I’ve noticed that if I leave mature pods on the plant too long, it can slow down the production of new pods.
FAQ
What size container is best for growing okra?
I recommend using a container that is at least 12 inches deep and wide to allow the roots to spread.
How much sunlight does okra need in containers?
Okra requires 6-8 hours of direct sunlight daily for healthy growth.
How often should I water okra in containers?
Water regularly, keeping the soil moist but not soggy. I water when the top inch of soil feels dry.
Can I grow okra indoors?
Yes, but place it in a sunny window or use grow lights to provide enough light.
When should I harvest okra pods?
Harvest pods when they are about 2-3 inches long while they are still tender.
Conclusion
Growing okra in containers is a rewarding and manageable way to enjoy fresh, homegrown pods. Whether you have limited space or just love the convenience of container gardening, okra adapts well to pots with the right care.
I’ve found that with the proper sunlight, well-draining soil, and regular watering, it’s easy to keep okra thriving. Remember to choose a large enough container, fertilize regularly, and keep an eye on pests.
Following these steps will reward your plant with a bounty of delicious, tender pods throughout the season. Harvesting your okra often is also important, as this keeps the plant producing.
The joy of picking fresh pods from a container on your patio or balcony is unbeatable. Plus, okra is one of those plants that doesn’t require too much fuss. As long as you keep the conditions right—warmth, sun, and water—it will reward you with abundant growth.
I encourage you to give it a try, even if you’re new to gardening. Once you get the hang of it, growing okra in containers becomes second nature, and you’ll soon enjoy a steady supply of fresh, homegrown okra! Happy gardening!


