As a gardener and squash enthusiast, I’m excited to share with you my expertise on How to plant and grow winter squash.
Winter squash, a versatile and nutritious addition to any garden, offers a bounty of flavorful options for your table. In this guide, I’ll walk you through the essential steps for cultivating robust squash plants that yield plentiful harvests.
From selecting the right varieties to nurturing healthy vines, I’ll provide practical tips to ensure your success. Join me as we delve into the world of winter squash cultivation and unlock the secrets to a thriving garden.
Whether you’re a seasoned gardener or just starting out, this comprehensive guide will equip you with the knowledge and confidence to grow luscious winter squash right in your backyard.
Let’s embark on this journey together and cultivate a bountiful harvest of delicious squash!
How To Plant And Grow Winter Squash?
To plant and grow winter squash successfully, start by choosing a sunny spot in your garden with well-draining soil. Prepare the soil by incorporating plenty of organic matter, such as compost.
Wait until all danger of frost has passed and the soil has warmed before planting. Sow the seeds directly into the ground, placing them at a depth of about four times the thickness of the seed.
Space the seeds about 3 to 4 feet apart in rows that are 6 to 8 feet apart. Water the seeds thoroughly after planting and keep the soil consistently moist, especially during dry spells.
As the plants grow, provide support for the vines if needed. Fertilize the plants with a balanced fertilizer when the fruits begin to form.
Keep an eye out for common pests and diseases, such as cucumber beetles and powdery mildew, and take appropriate measures to control them.
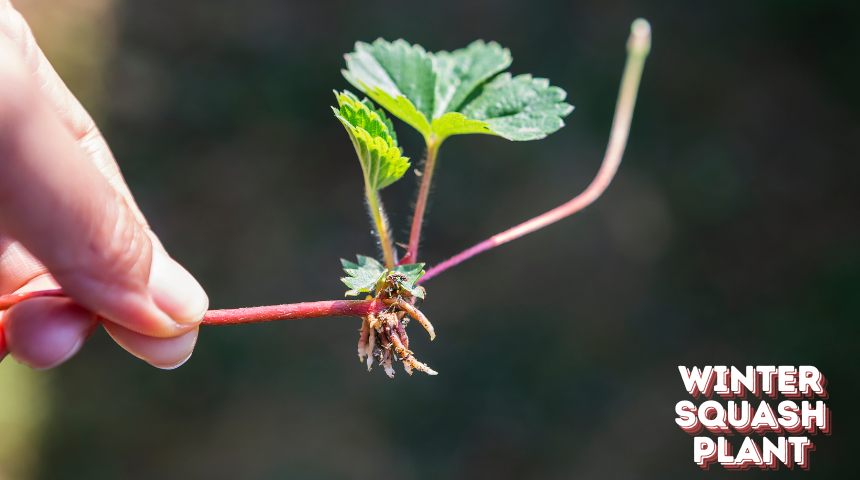
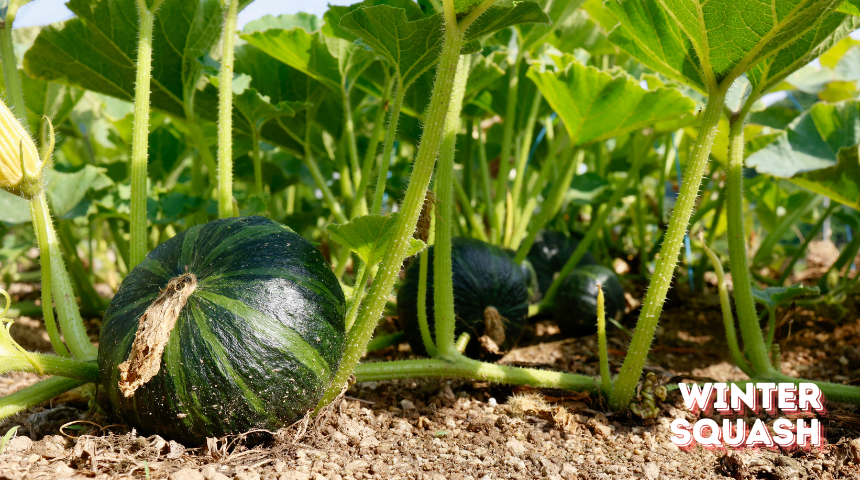
Harvest the squash when the rinds are firm and the fruits have reached their mature size. With proper care and attention, you’ll soon enjoy a bountiful harvest of delicious winter squash from your garden.
The 15 Steps For How To Plant And Grow Winter Squash.
1. Choose the Right Variety
Selecting the right variety of winter squash is essential for a successful harvest. Consider your taste preferences, growing conditions, and available space in your garden.
Butternut squash is prized for its sweet, nutty flavor and smooth texture, while acorn squash offers a slightly milder taste and is ideal for stuffing.
Spaghetti squash is known for its unique stringy flesh, perfect for substituting pasta in dishes. Pumpkin squash, with its iconic shape and rich flavor, is a favorite for pies and other baked treats.
Explore local varieties or heirloom options for unique flavors and characteristics that suit your culinary preferences.
2. Find the Perfect Spot
Winter squash plants thrive in full sunlight, so it’s crucial to choose a sunny location for your garden bed. Aim for at least 6 to 8 hours of direct sunlight per day to promote healthy growth and abundant fruit production.
Avoid areas that are shaded by buildings, trees, or other structures, as insufficient sunlight can lead to poor yields and leggy growth.
Ensure the chosen spot has well-draining soil to prevent waterlogging, which can cause root rot and other problems for squash plants.
3. Prepare the Soil
Preparing the soil before planting is key to providing a nutrient-rich environment for winter squash to flourish. Start by loosening the soil to a depth of about 12 inches using a garden fork or tiller.
Incorporate plenty of organic matter, such as compost, well-rotted manure, or leaf mold, to improve soil structure, fertility, and moisture retention.
Organic matter also introduces beneficial microorganisms to the soil, enhancing its overall health and productivity.
Avoid using synthetic fertilizers or chemical additives that can harm beneficial soil organisms and disrupt the natural balance of nutrients.
4. Timing is Key
Timing plays a crucial role in the success of your winter squash crop. Wait until all danger of frost has passed and the soil has warmed to at least 60°F (15°C) before planting seeds or transplants outdoors.
Planting too early can expose young seedlings to cold temperatures, stunting their growth or causing them to die off.
Conversely, planting too late in the season may not allow enough time for the fruits to mature before the onset of frost.
Consult your local agricultural extension service or gardening resources for specific planting dates and recommendations tailored to your region.
5. Planting Seeds
Planting squash seeds directly into the soil is a straightforward and cost-effective method for starting your winter squash crop.
Begin by creating small mounds or hills of soil spaced 3 to 4 feet apart in rows that are 6 to 8 feet apart. Make a small indentation in the center of each mound and place 2 to 3 seeds about 1 inch deep.
Cover the seeds with soil and water gently but thoroughly to ensure good seed-to-soil contact and proper germination.
Thin out the seedlings once they emerge, leaving only the strongest plant in each mound to avoid overcrowding and competition for resources.
6. Starting Transplants Indoors
Starting squash seeds indoors allows you to get a head start on the growing season and ensures healthy, vigorous seedlings ready for transplanting into the garden.
Begin by filling biodegradable pots or trays with a high-quality seed-starting mix, which provides the ideal balance of moisture retention and aeration for germinating seeds.
Plant 2 to 3 seeds per pot at a depth of about 1 inch, then water lightly to moisten the soil. Place the pots in a warm, sunny location or use a grow light to provide supplemental lighting until the seeds germinate.
Once the seedlings have developed a few true leaves, transplant them into the garden, spacing them according to the recommendations for direct-seeded plants.
7. Provide Support
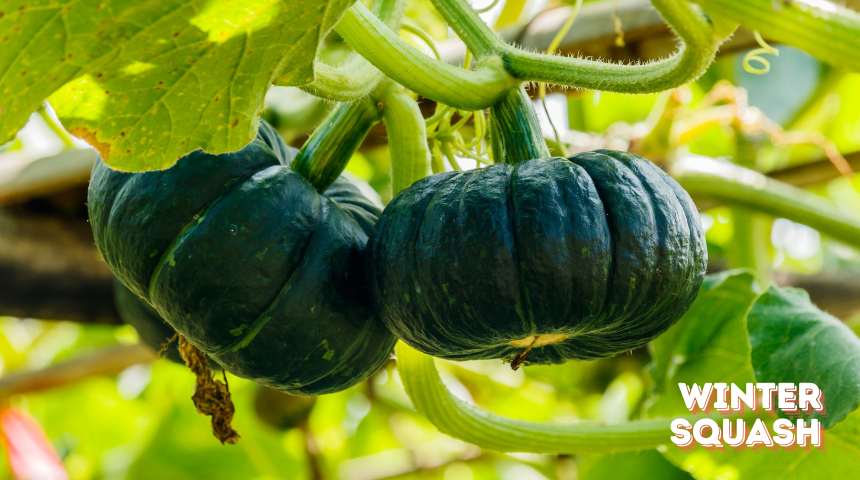
Many winter squash varieties produce sprawling vines that can quickly take over your garden if left unchecked.
Providing support for the vines helps to keep them off the ground, reducing the risk of pest infestations, diseases, and fruit rot.
Consider using trellises, stakes, or cages to support the vines and guide their growth upward. Install the support structures at the time of planting or shortly thereafter to avoid disturbing the roots or damaging the young plants.
Train the vines to climb the supports as they grow, gently tying them in place with soft twine or plant ties to prevent breakage and ensure proper support.
8. Watering Wisely
Proper watering is essential for the health and vitality of your winter squash plants, especially during periods of hot, dry weather and as the fruits begin to form.
Water the plants deeply and thoroughly at the base, rather than overhead, to minimize evaporation and reduce the risk of foliar diseases.
Aim to keep the soil consistently moist but not waterlogged, as excessive moisture can lead to root rot and other problems.
Use a soaker hose, drip irrigation system, or watering can with a gentle shower nozzle to deliver water directly to the root zone and avoid wetting the foliage unnecessarily.
9. Fertilize Appropriately
Providing adequate nutrients is crucial for promoting healthy growth and robust fruit production in winter squash plants.
Start by incorporating plenty of organic matter, such as compost, into the soil before planting to enrich it with essential nutrients and improve soil structure.
Once the plants are established, apply a balanced fertilizer or compost tea every few weeks to replenish soil nutrients and support vigorous growth.
Avoid over-fertilizing with nitrogen-rich fertilizers, as this can result in excessive foliage growth at the expense of fruit production.
Instead, use a slow-release or organic fertilizer formulated specifically for vegetables to provide a steady supply of nutrients over time.
10. Mulch for Moisture Retention
Applying a layer of organic mulch around the base of your squash plants helps to conserve soil moisture, suppress weed growth, and maintain even soil temperature.
Spread a 2- to 3-inch layer of mulch, such as straw, shredded leaves, or grass clippings, around the plants, taking care to leave a small gap between the mulch and the stems to prevent rotting.
Mulching also reduces soil compaction and erosion, improves soil structure, and provides habitat for beneficial soil organisms. Refresh the mulch as needed throughout the growing season to maintain its effectiveness and appearance.
11. Pest and Disease Management
Pests and diseases can wreak havoc on your winter squash crop if left unchecked, so it’s essential to monitor your plants regularly and take prompt action at the first sign of trouble.
Common pests that attack squash plants include cucumber beetles, squash bugs, and squash vine borers, while diseases such as powdery mildew and downy mildew can cause foliar damage and reduce fruit quality.
Use natural or organic pest control methods, such as hand-picking, insecticidal soap, or neem oil, to manage infestations and reduce the need for chemical pesticides. Practice good garden hygiene by removing plant debris, rotating crops, and maintaining adequate spacing between plants to minimize the risk of disease outbreaks.
12. Pollination
Most winter squash varieties require insect pollination to set fruit properly, so it’s essential to attract pollinators to your garden.
Planting a diverse selection of flowering plants, such as marigolds, zinnias, and bee balm, helps to provide nectar and pollen for bees, butterflies, and other beneficial insects.
Avoid using pesticides that can harm pollinators and disrupt their natural behavior. If necessary, hand-pollinate squash flowers by transferring pollen from male flowers to female flowers using a small paintbrush or cotton swab.
Monitor pollinator activity in your garden and take steps to encourage their presence, such as providing water sources and nesting sites.
13. Harvesting Time
Knowing when to harvest your winter squash is essential for preserving flavor, texture, and nutritional quality.
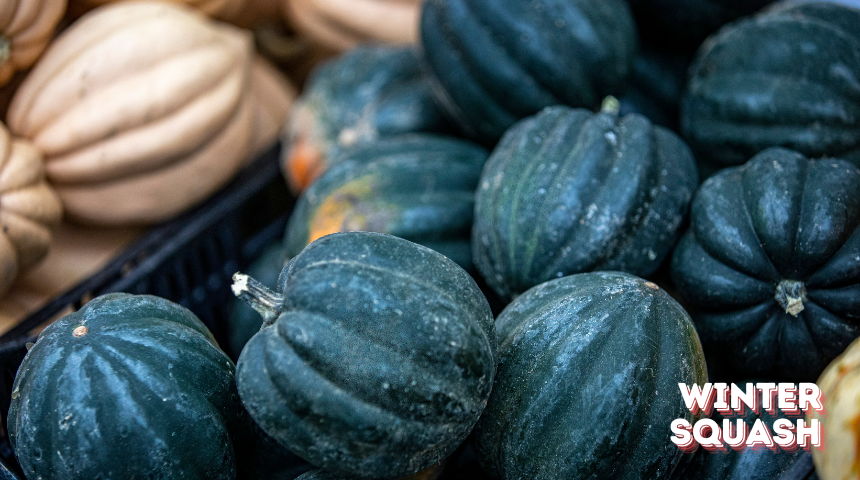
Wait until the fruits have reached their mature size and the rinds have hardened into a tough outer shell, indicating that they are fully ripe and ready for harvest.
Use a sharp knife or pruning shears to cut the fruits from the vines, leaving a few inches of stem attached to the fruit.
Harvest squash gently to avoid bruising or damaging the skin, which can reduce storage life and increase the risk of spoilage. Store harvested squash in a cool, dry place with good air circulation until you’re ready to use them.
14. Storage Tips
Proper storage is key to prolonging the shelf life of your winter squash and ensuring a steady supply of fresh, homegrown produce throughout the season.
Store harvested squash in a cool, dry location with good air circulation, such as a basement, pantry, or root cellar.
Choose squash with firm, unblemished skins and store them in a single layer, preferably not touching each other, to prevent bruising and rotting.
Avoid storing squash near fruits that produce ethylene gas, such as apples and bananas, as this can hasten ripening and spoilage. Check stored squash regularly for signs of decay or damage and use them promptly to prevent waste.
15. Enjoy Your Harvest
After all the hard work and care you’ve invested in growing your winter squash crop, it’s time to reap the rewards and enjoy the fruits of your labor.
Incorporate freshly harvested squash into your favorite recipes, such as soups, stews, casseroles, and baked goods, or experiment with new culinary creations to showcase their unique flavors and textures.
Share your bounty with friends, family, and neighbors, spreading the joy of homegrown produce and fostering a sense of community.
Take pride in knowing that you’ve grown healthy, nutritious food right in your own backyard, and savor the satisfaction of a job well done.
FAQ
How deep should I plant winter squash seeds?
Plant winter squash seeds at a depth of about 1 inch in well-draining soil.
How do I know when winter squash is ripe for harvest?
Winter squash is ripe for harvest when the rinds have hardened and the fruits have reached their mature size, typically 60-100 days after planting.
Can I grow winter squash in containers?
Yes, you can grow small-fruited winter squash varieties in containers with proper support for the vines and adequate space for root growth.
How can I prevent pests and diseases in my winter squash plants?
To prevent pests and diseases, practice good garden hygiene, monitor plants regularly for signs of infestation, and use natural pest control methods such as hand-picking and neem oil.
Conclusion
In conclusion, planting and growing winter squash is a rewarding experience that offers a bounty of delicious and nutritious fruits for your table.
By following these tips and techniques, you can cultivate thriving squash plants and enjoy a plentiful harvest all season long.
From selecting the right varieties to providing proper care and maintenance, each step plays a vital role in ensuring your success.
So, roll up your sleeves, get your hands dirty, and embark on this exciting gardening journey with confidence. Happy gardening, and may your squash harvest be abundant and flavorful!

