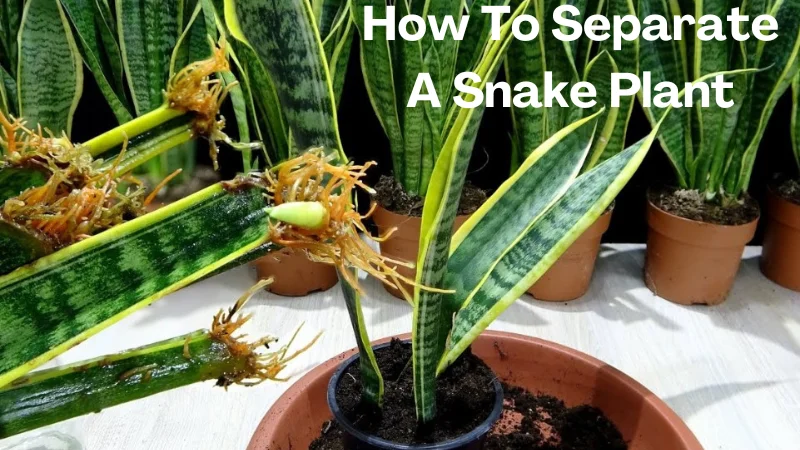
Hello, plant enthusiasts! Today, I’ll guide you through how to separate a snake plant. A task that can promote healthier growth and expand your green oasis.
With a sharp knife in hand and a careful eye on the root clusters, we’ll navigate the steps to ensure each divided section thrives in its new home. Let’s dive in and empower our snake plants to flourish!
By carefully following these steps, we’re not only multiplying our plants but also fostering a healthier, more robust green space.
Identifying The Different Varieties Of Snake Plant
Identifying different varieties of snake plants involves observing their unique characteristics:
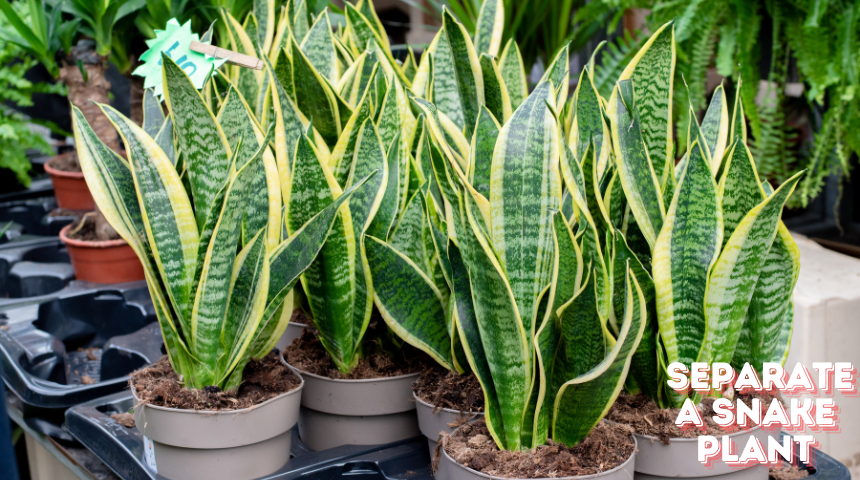
1. Sansevieria Trifasciata: Commonly known as the “mother-in-law’s tongue,” it features long, sword-shaped leaves with green-gray patterns and yellow edges.
2. Sansevieria Cylindrica: Recognized for its cylindrical, spear-like leaves that grow vertically, resembling a cluster of tall, smooth spikes.
3. Sansevieria Moonshine: This variety showcases silvery-green leaves with a subtle shimmer, giving it a moonlit appearance.
4. Sansevieria Laurentia: Identified by its distinctive yellow margins on the edges of its green leaves, creating an eye-catching contrast.
5. Sansevieria Hahnii: Known as the bird’s nest snake plant, it forms a rosette shape with shorter, wider leaves clustered together.
Observe leaf shape, color, and patterns to distinguish between these varieties, each exhibiting its unique features that make them easily identifiable.

How To Separate A Snake Plant?
Separating a snake plant is simple. First, gather your materials:
You’ll need to separate a snake plant
1. A snake plant,
2. A sharp knife,
3. A pot,
4. Potting soil (You can use compost) and
5. A seedbed or hard surface.
8 Easiest Steps To Separate A Snake Plant
Here are eight fantastic ideas on how to separate a snake plant.
1. Prepare your workspace
Lay down a seedbed or a hard surface where you can work comfortably without damaging the floor or table.
2. Remove the plant from the pot
Gently take the snake plant out of its current pot. You might need to tap the pot’s sides or loosen the soil to remove it without damaging the roots too much.
3. Root Examination
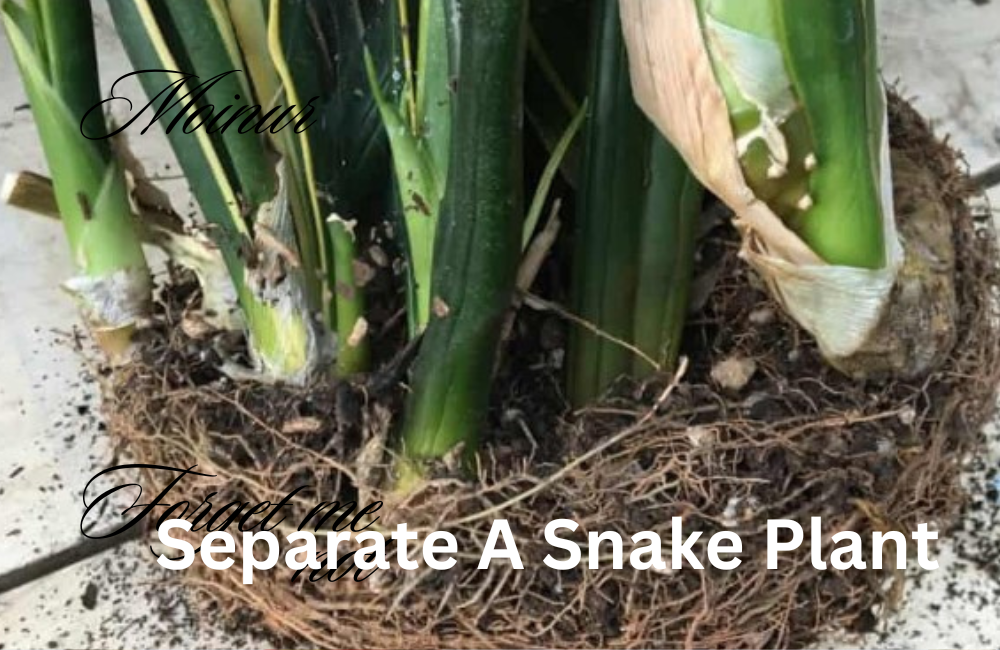
Inspect the roots closely. Look for natural separations or clusters that can be divided. Identify areas where the plant naturally splits into separate sections.
4. Separate the plant
Use a sharp knife to carefully divide the plant at the root system. Ensure that each separated section has its healthy roots and some foliage.

5. Repotting
Prepare the new pots with fresh potting soil or compost. Place each separated section into its pot and fill it with soil, making sure the roots are covered but not buried too deeply.
6. Watering and Fertilizing the Separated Plants
Water the separated snake plant sections lightly after repotting. Ensure the soil is moist but not soaked. Let the soil dry slightly between waterings as snake plants prefer slightly dry conditions.
For fertilizing, wait a few weeks before applying fertilizer. Use a balanced, diluted fertilizer.
Apply it sparingly to avoid overfeeding, typically during the growing season (spring and summer), and reduce or stop fertilizing in the dormant winter months.
Follow the instructions on the fertilizer label for proper dilution and application.

7. Placement
Put the newly separated snake plants in a location with appropriate lighting for their growth. Snake plants generally thrive in indirect sunlight.
8. Maintenance
Keep an eye on the newly potted plants and ensure they receive adequate water and light. Avoid overwatering as snake plants prefer slightly dry conditions.
FAQ
Can I separate a snake plant?
Yes, snake plants can be separated. It’s a great way to propagate and rejuvenate the plant.
When is the best time to separate a snake plant?
Spring or early summer is ideal. The plant is actively growing, promoting faster recovery.
How do I know if my snake plant needs separating?
Look for overcrowding or if the plant has outgrown its pot. Visible offsets or multiple stems may indicate it’s ready for separation.
Can I separate a snake plant without damaging it?
With care, it’s possible. Use a sharp knife, examine the roots, and make clean cuts at natural separations to minimize damage.
Will the separated sections thrive on their own?
If given proper care, each separated section should grow independently and flourish in its pot. Ensure adequate light and water for optimal growth.
Conclusion
Separating a snake plant isn’t just about division; it’s about nurturing growth and expanding your green sanctuary.
Remember, with a sharp knife and a keen eye for healthy roots, you’re empowering these plants to thrive independently.
By following these steps, we’re not just creating new plants; we’re giving each section a chance to flourish on its own.
Embrace this process as a way to multiply your green space and spread the joy of caring for these resilient beauties. Happy planting!


One Comment on “How To Separate A Snake Plant? 8 Easiest Steps”